
 |
| Breathe deep. |
Fall smells like sour socks.
Well, in the test garden's kitchen, anyway.
See, fall is when we take down the summer crops and save seeds from the final remaining fruits that have been languishing on the plants for months.


Most of the fruits don't look all that great anymore, but they're ripe (overripe, actually), huge and the seeds are full of the know-how for creating more healthy plants for next year's garden.

But, in order to get those seeds saved so that they'll be viable for late winter/early spring starting for next year's summer test garden, they have to go through a variety of processes.
And the process for tomato seeds, in particular, involves fermentation.
Which smells like sour socks.
 |
| Mmmmmmmmmmmmm...reminiscent of Jockey and Hanes... |
 |
| Amazing how something so beautiful can smell so NOT beautiful. |

And if you're looking for a handy way to re-purpose the divided boxes that your canning jars come in, the savviest gardener I know (hi, mom!) and your fellow Indie Farmer, puts them to work for seed saving.
How to use canning boxes to organize your seed saving
1. Once you've emptied the box by canning all the edible fruit and vegetables from your garden, use the handy dividers to keep your varieties sorted and protected as you harvest them from your plants. |
| Each variety gets its own bag and label |
Use zipper bags to contain all their goodness (AKA Keep it from leaking all over the place) and mark with masking tape that details the fruit's variety, yield, source and characteristics. Leave the bags open so the fruit doesn't get even grosser in there and tuck each bagged variety into its own compartment in the divided box.
2. When you've decanted the seeds from the fruits to their fermenting jars, restock the box's dividers with your fermenting seeds, transferring the label from the bag to the jar (we like baby food jars for tomato seed saving).


3. Once your seeds have fermented and are ready to be saved, transfer the label from the jars to plates.
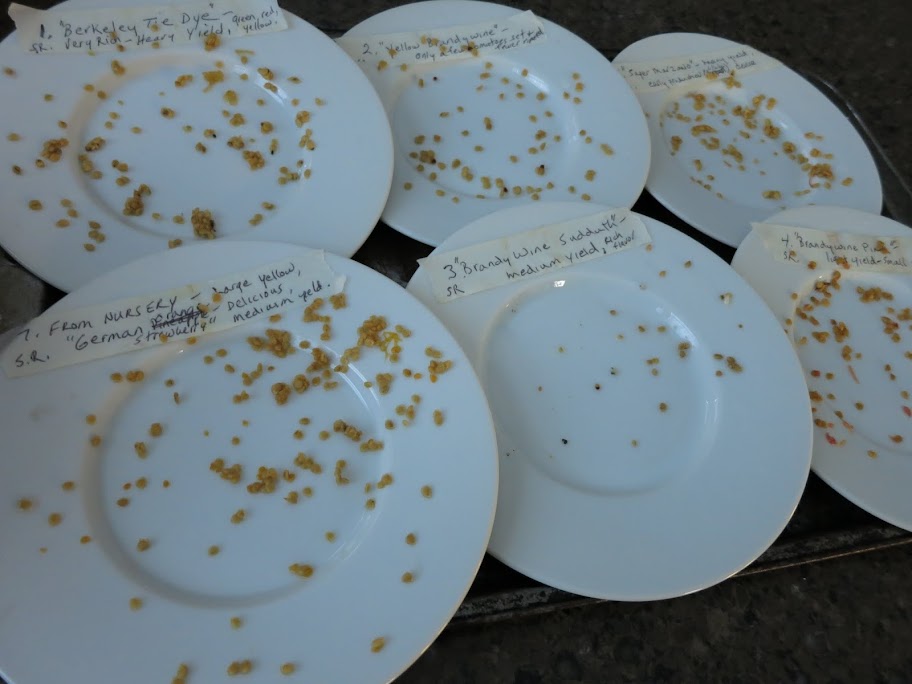
4. And when your seeds are dry and ready for packaging, transfer the label from the plates to your storage container. In our case, we use paper envelopes.

Step 5 is the fun part - sowing your home-saved seeds next spring for next summer's garden.
If you want to learn how to save all kinds of seeds (some don't require the aromatic fermentation process, which is nice) for your upcoming spring garden, book a Seed Saving session and we'll go through the process with you step by step.
It's pretty fun and not as stinky as it may sound.

No comments:
Post a Comment